CGMA Intro to Rigging - What I've learned
Learn the principles of rigging in this 10-week Intro to Rigging course. Students will learn how to manipulate their character and prop geometry to perform all kinds of exciting actions. After completing this course, students will be equipped with the knowledge to find both simple and complex solutions to all your production challenges. By course end, students will have a solid understanding of rigging principles, master several deformers and learn how they chain together, automate repetitive tasks with scripting, and enhance your knowledge of body mechanics and anatomy. (source)
I've completed CGMA's Intro to Rigging course! The lectures were created by instructor Nick Miller, and I was mentored by instructor Martin L'anton. Here's a review of everything I've learned during the course!
Week 1
In the first week, we built a simple mannequin. This introduced us to the fundamental components of rigging: hierarchy, constraints, node connections, deformers, joints, and building controls.
Week 2
I'm learning how to properly record videos, so please bear with me
Week two ramped things up as we built a car rig. This rig featured some interesting automation using node connections and expressions.
Building on what I learned, I went the extra mile to automate the wipers (MEL expression), the steering wheel (set driven key), and the front-wheel steering (aim constraint).
We were also introduced to scripting, using MEL commands to create a simple macro.
Week 3
Week 3 was probably the most challenging week, and my favorite as well. This week's focus was mechanical rigging, where we used IK joints and constraints to rig an arm and pistons.
The track setup had to be scripted; I decided to challenge myself to write the Python script from scratch. I enjoyed the process so much that I wrote another script, this one for animating the track.
The cherry on top was adding nHair dynamics on the cables. I spent time fine-tuning the settings to get them to look right.
I'm planning to re-write the script for a 'wheel-animator' tool someday!
Week 4-6
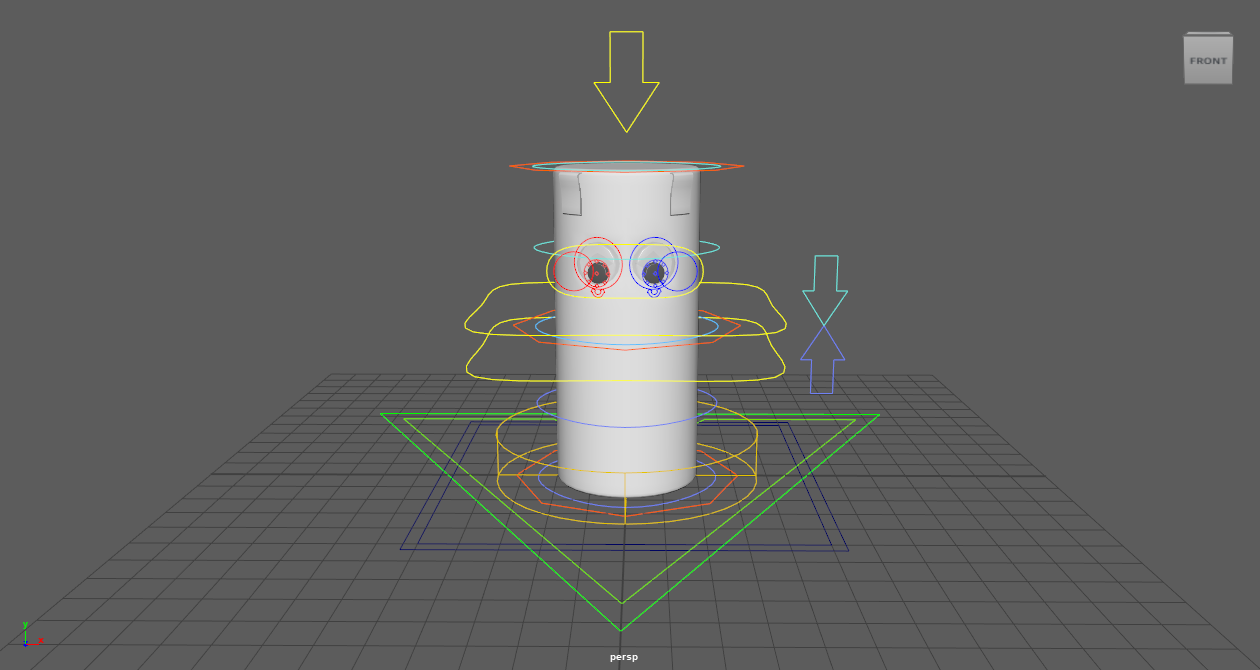
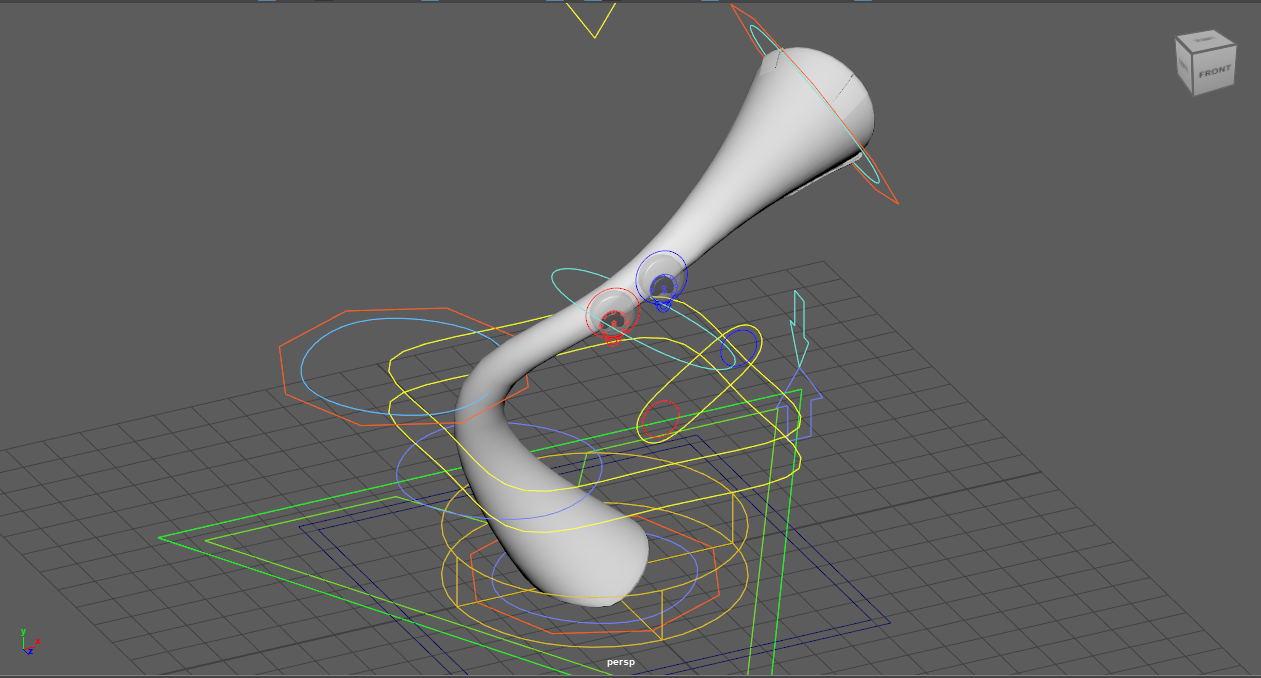
Week 4-6, we built a rig for this marshmallow punching bag guy. This week was all about deformers. We had to stack several of them to give him interesting effects, such as squash and stretch, volume preservation, and ground collision. The rig also had some fun features, like a 'coin-spin' setup and riveted googly eyes that were gravity-aligned.

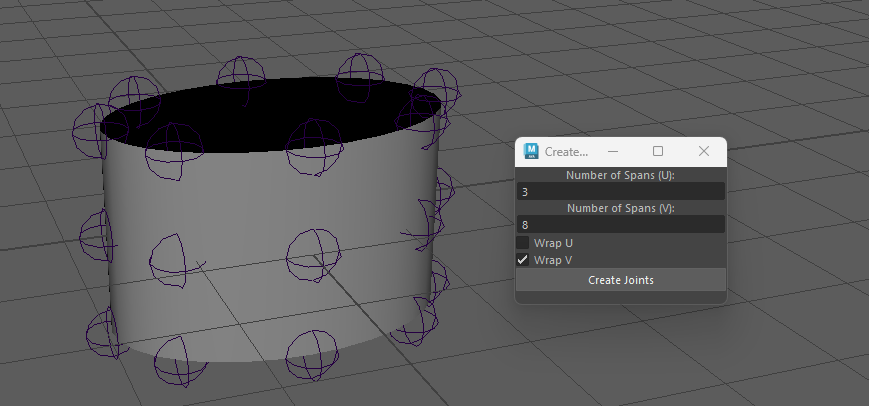
We learned how to build a GUI, too. At this point, my Maya shelf was filling up with my Python scripts, and this one is my favorite. It's a simple GUI that creates a grid of joints on a NURBS surface.
Check out posts about some of my other shelf tools:
Week 7-10
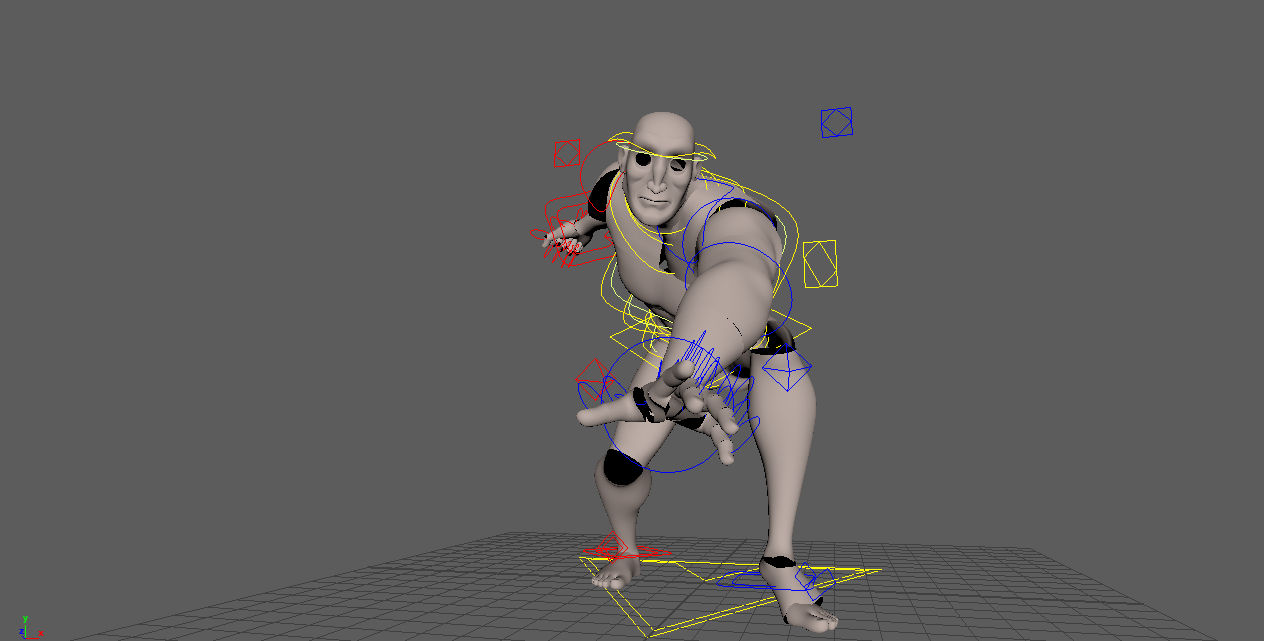
How it started...
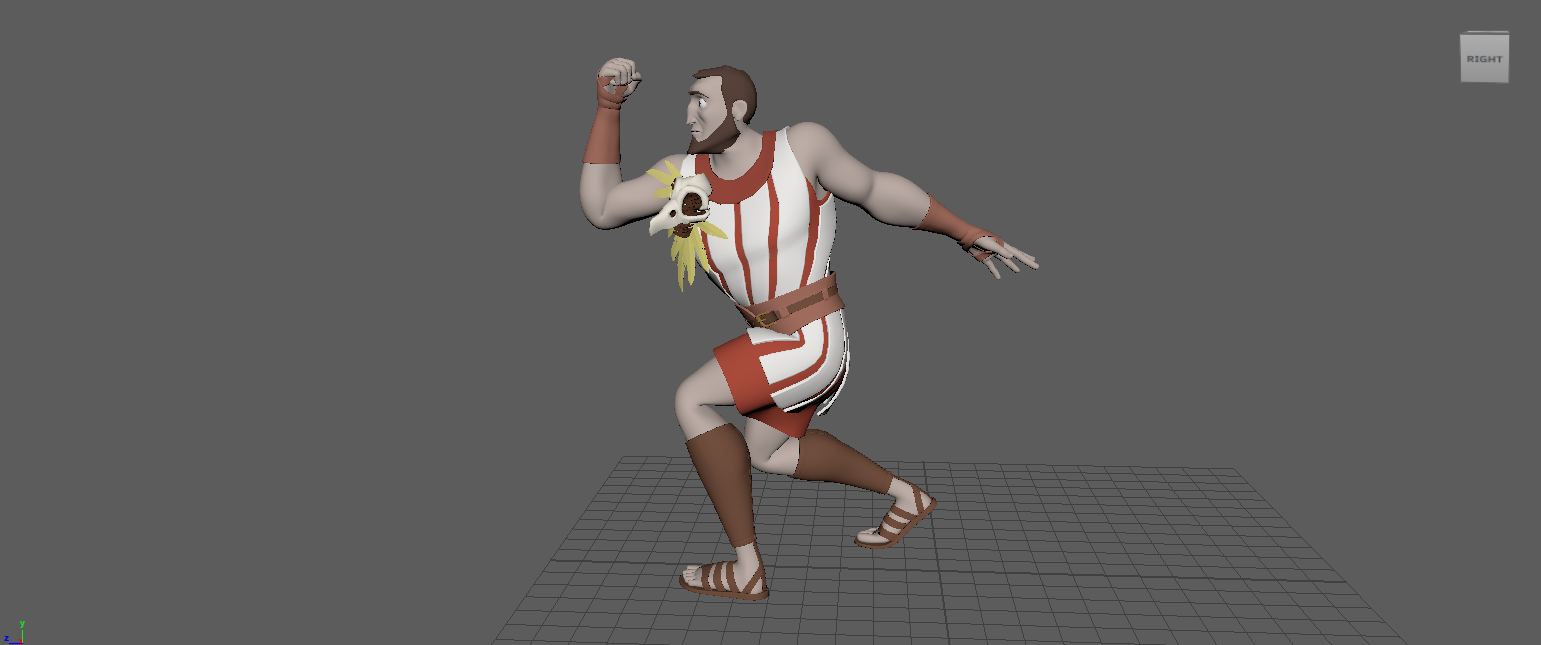
...and how it ended! Character model made by Alex Cheparev
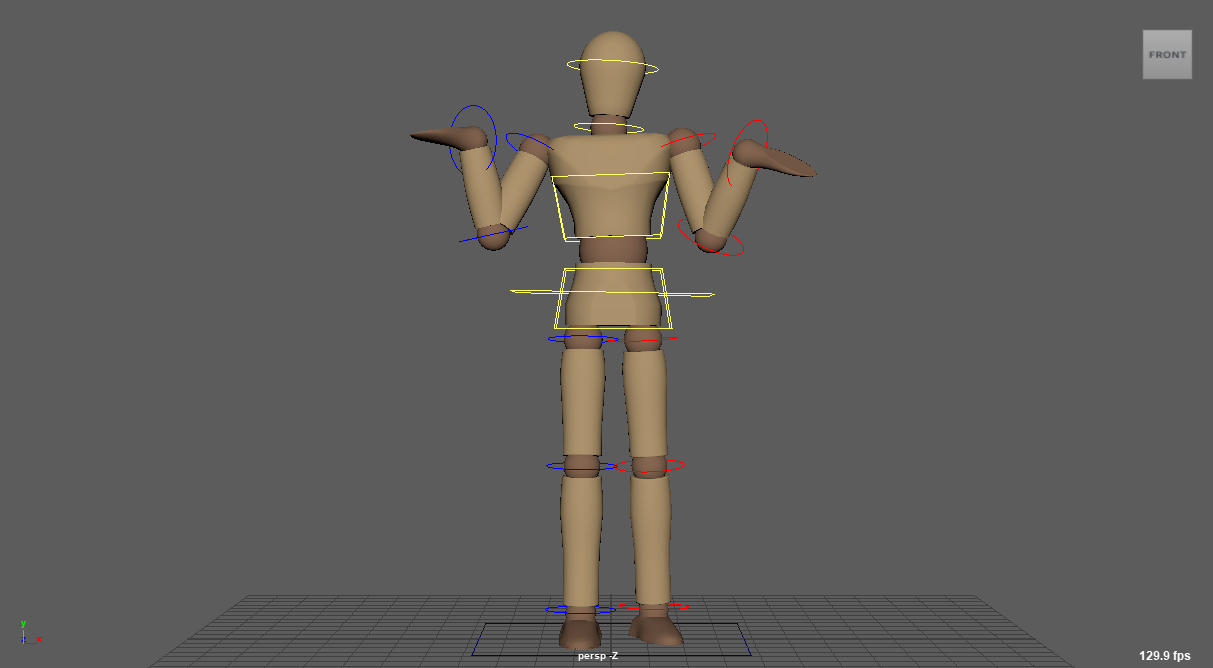
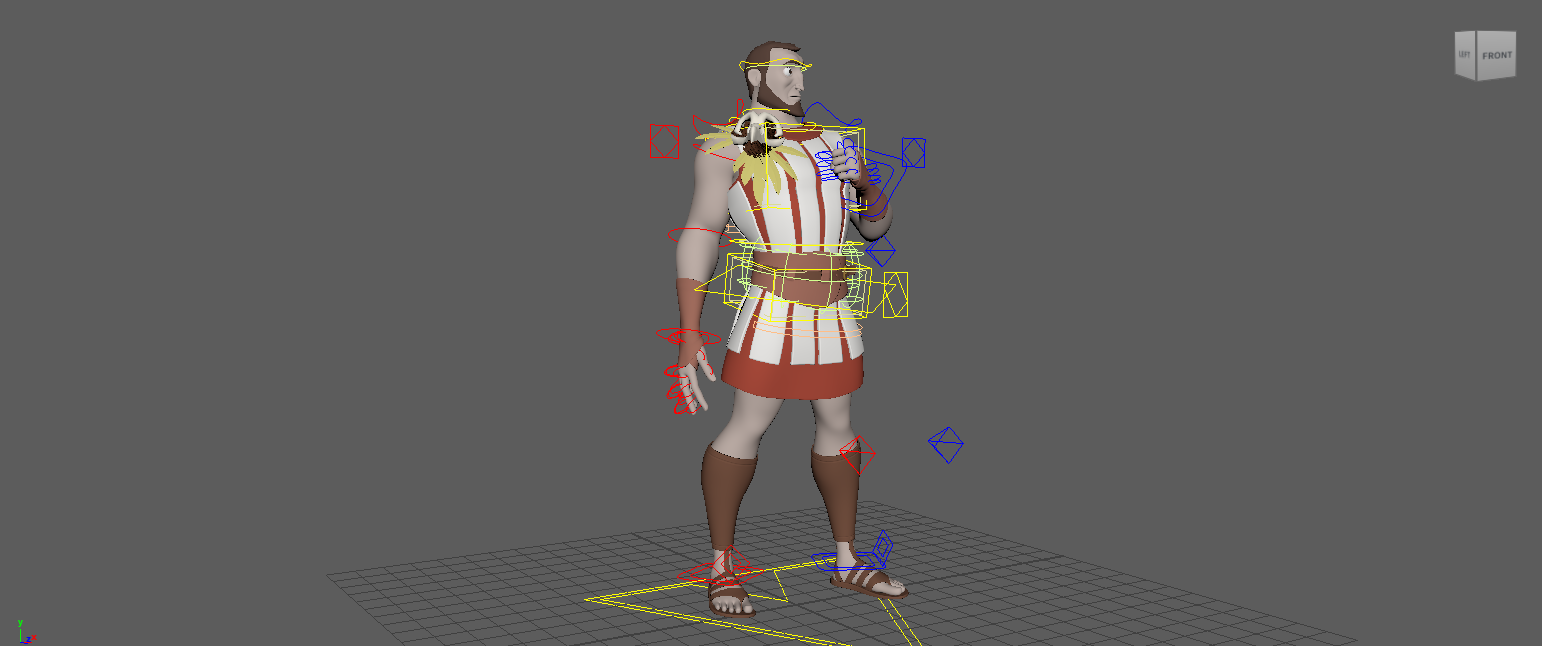
The last 4 weeks were spent rigging our final biped character. It had FK/IK, space switching, and twisty and stretchy limbs. But the main challenge for this rig was to get good-looking deformations. ngSkinTools was a lifesaver for this one, and I'm overall satisfied with how he looks.
Although not part of the course, Cult of Rig was a big inspiration for my setup. I used matrices and offsetParentMatrix to build a rig that doesn't rely on hierarchy or constraints, resulting in a clean and organized outliner.
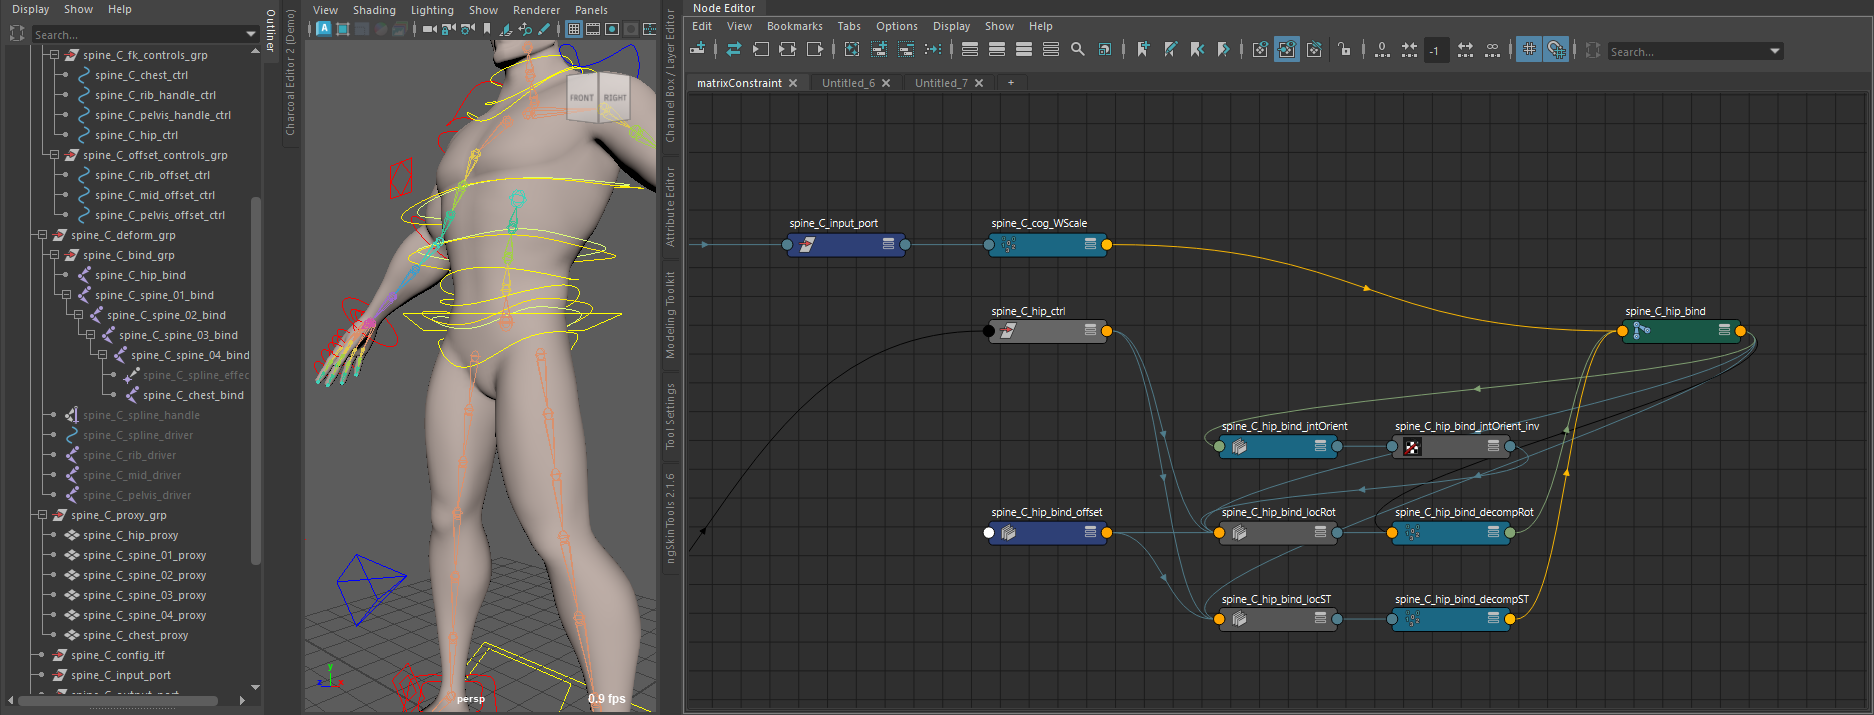
An example of my 'matrix constraint'. This setup removes the need for constraints.
Problem-solving was a major theme in these weeks. With my mentor's help, I was able to solve my own problem; an automated belt setup to help prevent clipping against the body.
Instead of using blendshapes, I used Maya's pose interpolator to drive the controls' transform directly. It worked great, and I'm glad I've spent time on solving it instead of calling it quits.
Overall, this course was amazing! I think it delivered on its premise, and much more. I developed a solid understanding of rigging, scripting, and problem-solving. I'm excited to explore this field more. A big thank you to the instructors, and thank you for reading!